Proper Field Care of Fish for Taxidermy

Producing a high quality fish mount starts with proper field care. Here are several tips to help you prepare your trophy fish for safe arrival to the taxidermist.

Consider Releasing the Fish and Having a Replica Done
Did you know that there are literally THOUSANDS of sizes and species of super realistic reproduction fish available. A good fish taxidermist can paint a fish replica so well, you will not know if it is real or fake! If you only intend to mount the fish and not eat it, why not let it go and just get a fish reproduction done! Here are some extra tips for getting what the taxidermist needs before releasing your fish back into the water to catch AGAIN someday!
- Minimize slime loss by handling the fish gently and using a rubber landing net. Slime protects fish against harmful diseases and pathogens.
- Take measurements! Generally the length (nose to tail) and girth (distance around the biggest part of the belly) is all that’s needed.
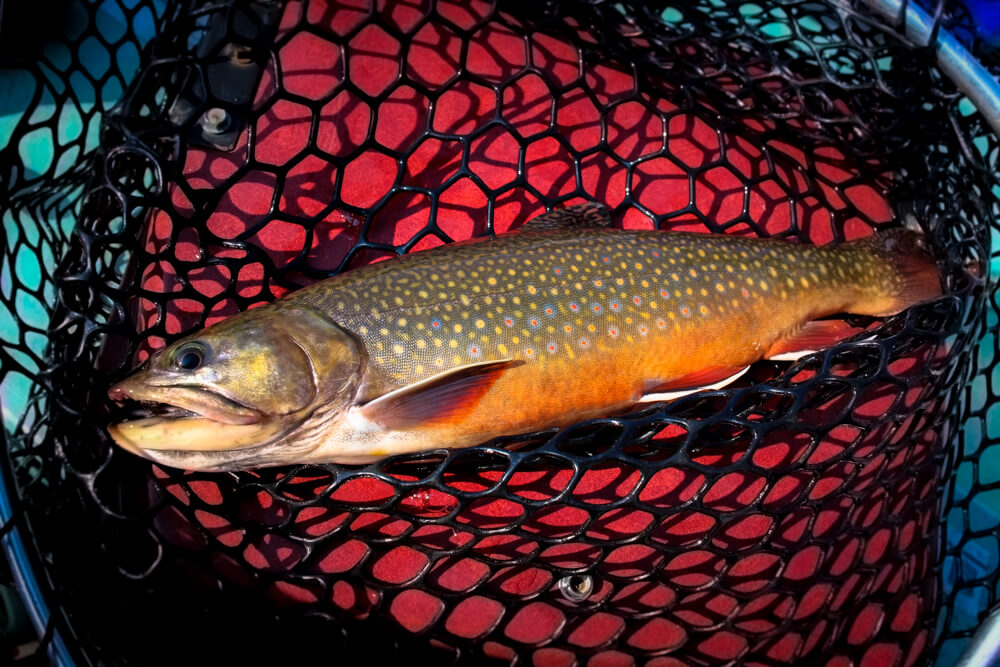
- Take lots and lots of photos when it’s fresh out of water! This gives your taxidermist an idea of the coloration of your particular fish and minimizes his guesswork.
- Even if the fish loses its colors and you cannot get pictures until later, take a bunch anyway. Closeups are helpful too. Spot patterns and unique markings can still be referenced in these photos later.
If you’ve decided to kill and eat (hopefully) your fish, read on!
Preparing the Fish for Freezing
- Minimize handling, but handle the fish gently at all times! This avoids scale damage.
- Do NOT bash the fish on the head or body to kill it.
- Take photos! Photos of your fish fresh out of the water will best capture its colors so the taxidermist can better match its beauty.
- Do NOT gut your fish.
- Cool it as soon as possible.
- Wrap it in a towel and put it on ice.
- avoid damaging scales or fins!
- Once home, wrap fish gently in a wet hand towel or bath towel. Use multiple towels if necessary. Be sure to carefully tuck its fins along its body. You might find it easier to first wrap the fish in the towel and then saturate the towel thoroughly with water. Either way, make sure the towel(s) are nice and wet.
- Once the fish is wrapped in the wet towel, place it in a plastic bag large enough to fit the fish without bending it.
- Draw as much air out of the bag as you can before sealing it. Pro tip: vacuum seal it!
- Place it in the freezer until you can safely get it to the taxidermist.
- Be sure to let your taxidermist know if you intend to eat your fish so he can save the meat for you once he/she has skinned it.
Shipping a Frozen Fish to the Taxidermist
If you are quite a distance from your taxidermist and need to ship your fish, here are some tips to ensure its safe arrival:
- Ship only on a Monday to minimize any risk that the fish sits in a shipping warehouse over a weekend.
- Use either Ground, next day, or 2nd day service so that your fish is in transit no more than 2 days. If ground service shows 3 days or more, it’s highly recommended that you use 2nd day or faster service.
- Keep your fish in the freezer as long as possible before you bring it to your shipping provider. Don’t let it sit on your porch all day waiting for a pickup. Drop it off at a UPS drop off point late in the day
- Use a cheap, styrofoam cooler inside your shipping box. You might even use 2, depending on the fish’s size. Tape the cooler shut. Make sure no moisture can escape from it, causing the box to get wet.
- Ship in cooler, winter months when feasible. (a longer shipping time could be okay during the winter in cooler climates, but beware of the increased risk!)
Want to Try Fish Taxidermy Yourself?
Freezing fish for taxidermy involves careful steps to ensure a great looking fish mount. We wish you our very best in getting an amazing looking fish back from your taxidermist. If you ever want to try doing your own fish taxidermy, check out one of our videos that will teach you how to properly mount your own fish!
