Painting a Walleye Reproduction
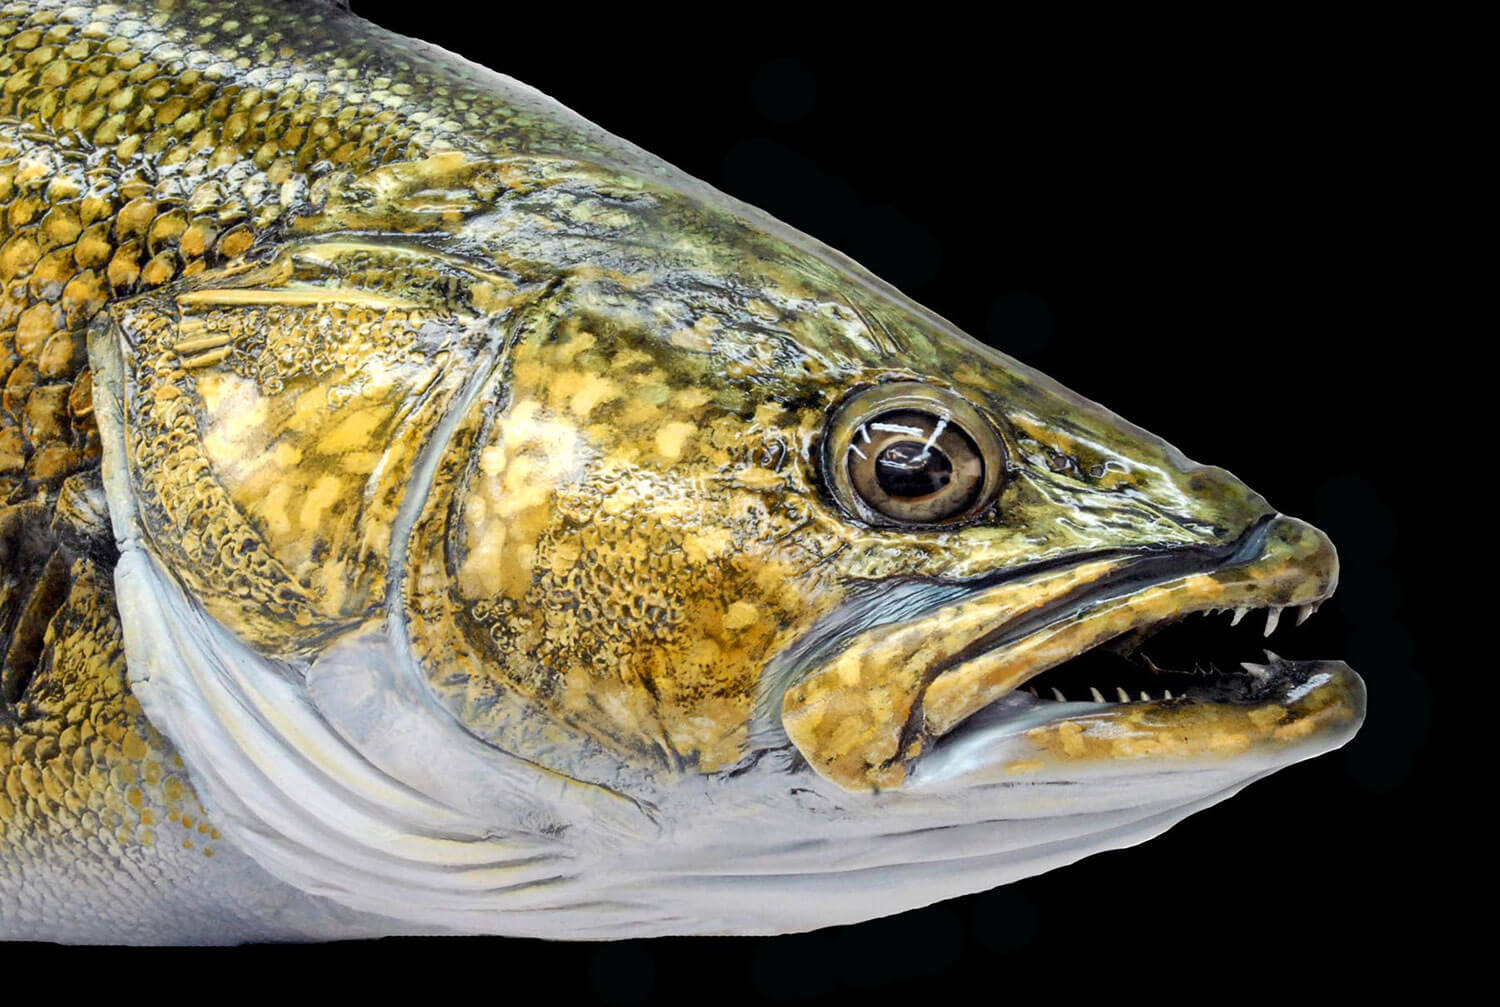
How to Paint 3 Different Color Phases of Walleye (A “Tail” of Three Walleye)

If you live near a body of water that is home to one of North America’s most prized fish, the Walleye, then you surely already know the thrill of pursuing this coveted catch! From the beautiful shores of Canada’s pristine waters to the Pacific North West’s majestic beauty, all the way to the bountiful lakes of Georgia; Walleye are mainstays for clients who are looking for that “other” freshwater trophy fish! Walleye are not only great to eat but are a legitimate contender for one of the most prized fish we as taxidermists will have the opportunity to work with for our clients! Not only is this fish beautiful in every regard but it also comes in all shapes and sizes that range from stream line to big old fat gals (no way to be PC about that if you ever caught one of the big gals!)
The Walleye has remarkable distinguishing signatures, as do many great fish that helps us as taxidermists and clients alike identify this fish as unique. This fish we know as the Walleye or Zander has a wide range of coloration depth with the most unique markings which are displayed all over this fish as part of the signature characteristics that makes the Walleye so special. The Lake Erie Walleye exhibits a soft golden yellow hue with subtle markings. In contrast, the Walleye of the deep, cold Canadian lakes are known for their deep, dark colors and distinctive patterns. Yes, the Walleye without a doubt is one of the all time awesome fish to add to any ones collection for trophy fish!
Walleye are one of those rare fish that poses the angler a tasty dilemma to work out??? Oftentimes after catching this wide eye beauty the question comes in to play. Do I eat it or have it for the wall???? The great question!!! Here is the real deal… today you can have the best of both worlds… Ah, happy times!
Coming of age for the modern Fish Taxidermist!
R E P R O D U C T I O N S!! There I said it! There is a great deal of controversy and discussion in the Taxidermy community about catch and release and the future of “traditional fish taxidermy” I weigh in with the attitude if life gives you lemon’s then find someone to throw them at, so they can squeeze them all over that Walleye! Be the pace setter for your clients not just a fellow taxidermist who is still trying to figure out if this reproduction thing is a fad or is it here to stay or what??? What a dilemma; or is it really nothing more than progress and modern technologies? Nonsense I say! Before IPODS there were CDs and before that cassettes and so on and so forth (I didn’t go all the back to 78’s as I already feel old enough LOL) Carburetors became fuel injection systems, even McDonald’s became fast food… oops, wait a minute, Mickey D’s was always fast food… Ok you get where I’m going! We taxidermists, who do this as a living, just need to make a few adjustments with our mindset to work out the dollars and cents and go with the flow! Opportunity is a moneymaker if you adapt and make a system of business for this change of the day!
Happy Days!
Nope, I’m not talking about the Happy Days of Arthur Herbert (AKA the Fonz) Fonzarelli but pretty darn close to being just as “cool” if you’re a taxidermist today then it is “Correctamundo” for you when it comes down to can you learn how to paint a reproduction. Think about a fisherman he goes out to the big lake and he comes home with a mess of Walleye to eat. The Angler is so happy with his successful day of fishing (and his soon to be tasty meal) and even before the fish hits the skillet that you get “the call” and he wants a Walleye for his trophy wall! In some cases the phone call to the taxidermist is for a fish 4 pounds bigger than anything the prospective client caught that day or any other for that matter (how about that, a fisherman who can’t get the fish size correct???) LOL! Whatever the situation may be… that is the joy of fishing, and hence the tale of the fisherman! Good for them and better for you as the taxidermist who can provide the service of reproductions based on a phone call!
Opportunity is what you make of it! When you get the call, you will want to take down the detailed info (size, shape, color, weight, credit card info, etc), following the call you want to charge the credit card with the 50% deposit, next you hang the phone up with the new client and call a supply company and order your new clients fish reproduction. In a few weeks you take your clients reproduction out of the box (in some cases today’s reproduction companies make it so easy all you do is nothing more then take it out of the box and get to painting!) get it prepared to paint and git R done! This is such a no brainier business wise today and with today’s reproduction companies it is so wonderful to be a modern taxidermist who provides the services of today’s clients needs!!! Great reproduction companies of today’s cutting edge technologies, for example a company like Lake Country Replicas of Hawick, Minnesota for example, offer a fish reproduction product that all you do as the taxidermist artist is take it out of the box and get busy painting! More and more suppliers today are following the leader in this aspect of the industries offering of services of completed reproduction paint ready!
Money, Motivation, and Memories
We are in the business of “memories preservation systems” (how’s that grab ya!) and as a professional preserver of all things fish I want you to know a little secret. We are not all born with the same talent or abilities. Yes it is true, as any good teacher, I may be able to get out the last drop of God given talent; but you must always remember that the game comes down to learned skills and methods of daily practices! I as a teacher of fish taxidermy can only get the most out of what one has in them as far as ability wise, to begin to grow in a short period of time the discipline of perfect practice that will lead to great things for the taxidermist whom applies this mind set to all phases of their work! I say this as a practical man and as a Dad. What you may ask does being a dad today have to do with anything taxidermy related?
When I was a young boy I visited a taxidermy shop and I wanted to have a fish for my wall. I’ll exchange Dad for Grandfather in my case for this short story. I will tell you that I was a sadly disappointed young boy because my Grandfather wouldn’t let me have a fish mounted that I had caught. He told me that it takes years and hard work with a lot of talent to do that kind of work a taxidermist performs and let’s not forget the cost of a fish mount as far as the money part of it goes. I would have to wait for several years until I became a taxidermist to finally get a fish for my wall. The first fish I mounted on my own only lasted about 2 months and my Grandparents made me bury it in the back farm field as it stunk up the house something horrible. This was because at this time I didn’t know how to properly preserve a fish. I think my Grandfather was correct at so many levels, it does take time to learn to mount a fish properly and talent does come in to play I believe to reach certain levels of proficiency.
I know today if my daughter Amber wanted to have a fish for the wall and she wanted to be the one to put it there I would give her this advice. Get a reproduction and learn how to paint a reproduction as best as one-person can! Lets face it today we live in a day and age that “time” is the greatest value and commodity of them all! No one wants to wait for anything any more! If you are a taxidermist you know this statement is true. Customers today especially are looking seriously not only at what the taxidermist charges but equally today at how long does one taxidermist over another take to return a trophy! The answer for today and tomorrows client as well as taxidermist in many cases will be best served as a reproduction for folks getting in to this business or having a fish for the wall.
Be the first on your block!
If you are a full time shop or even a part time taxidermist who takes fish in at some point you will have the opportunity to give the option to client for a reproduction trophy. If you have been in the business as long as I have or if you’re brand new let me share with you some of the old roadblocks that keep clients from making the choice of a reproduction over a traditional Skin mounted fish. “I don’t want a plastic fish”, “I can tell they look fake”, “I want fish or nothing”! Yup… heard it all at one time or another! The bottom line is you can never please 100% of all the clients out there but you sure can educate most! If you’re a World class talented Taxidermist like my friend Dave Campbell of Tacoma Washington, or a fish Master like my friend Doug Petrousek of Elburn, Illinois or an all around outstanding fish artist like Dan Blackstone of Sarasota, Florida then one thing is true (all of which are full time professional taxidermist) that given the opportunity like so many other great fish artists I can list in several pages they all could surely reproduce a fish reproduction that a client would not be able to tell from a traditional skin mount.
The bottom line is you have to show the potential client the options in all of its glory! Have several reproductions hanging next to skin mounts and show the clients the advantages and options for the choice of a reproduction over a traditional skin mounted fish. Not to say that the day has come to no longer offer the traditional skin mounted fish however the time is here where the reproductions of today can put money in your pocket and give a client a great trophy for the wall! As a born and breed New Englander trust me when it comes down to the old Yankee’s of New England they are a tough bunch to sway from old traditions! Some times it just comes down to show and tell. Let them see how good a modern reproduction can look and let them make their own choice… but give them one to make them say WOW!
Lets Paint a Walleye or Two or Three…
As I have been teaching now for many years I feel it far more advantageous to learn to paint in a system approach rather than to work from paint schedules. The Tale of three Walleye! I choose the focus of our painting tutorial to be on Walleye and as anyone who has caught this fascinating and interesting-looking marvel knows as unique as a thumbprint so is the look and coloration of a Walleye. I choose three subjects and some really talented fellow Anglers Artistry Students to help out with the pictorial of this Taxidermy Today Article teaching the painting of a Walleye with a ability to put in variations to better work with a specific clients needs!
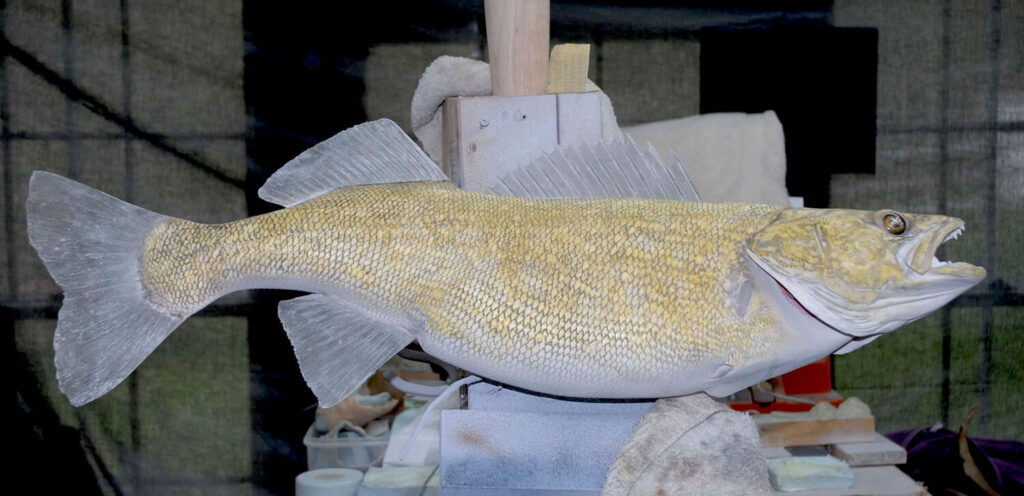
Mr. Scott Teaschner of Cody, Wyoming AKA the Deep Canadian variation (Pic Scott T), Mr. Joey Arender of Murfreesboro, Tennessee the Green pale phase (Pic Joey A), and last but not least Mr. Mike Sweda of Germantown, Wisconsin the Great Lakes yellow gold variation (Pic Mike S). All a little bit different but all come for the same beginnings and with a few changes to the approach, you can alter the paintwork for your fish in to what you need it to be!
The Beginning of a reproduction is always a canvas color!
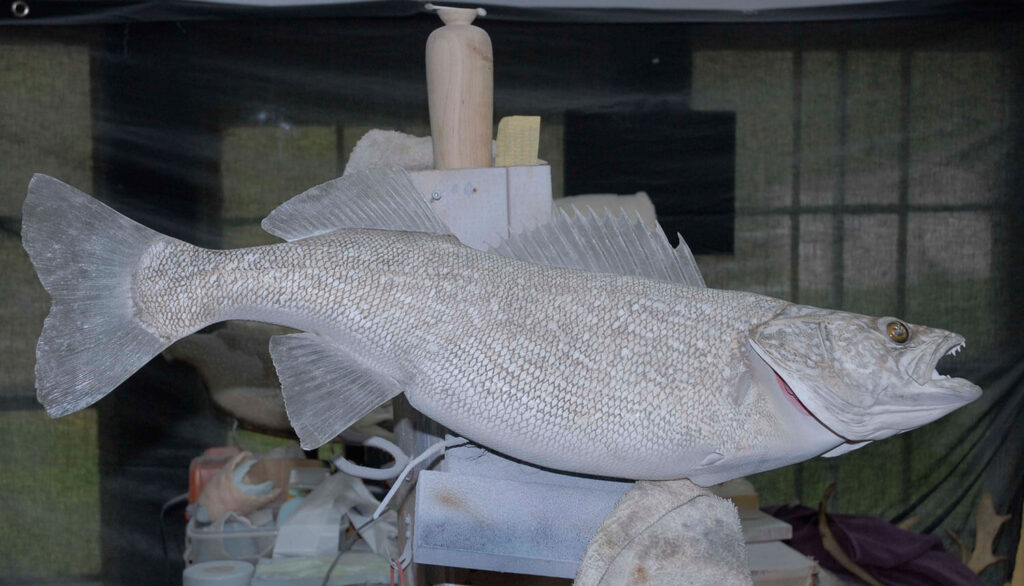
An Elementary Primary Color is any color that can directly influence any and all colors including them itself… White or Black! In most cases Black is not a great canvas color if you intend to put mid range to darker colors to a canvas. White on the other hand allows you to display any color well enough to make it the canvas of choice for a Walleye reproduction!


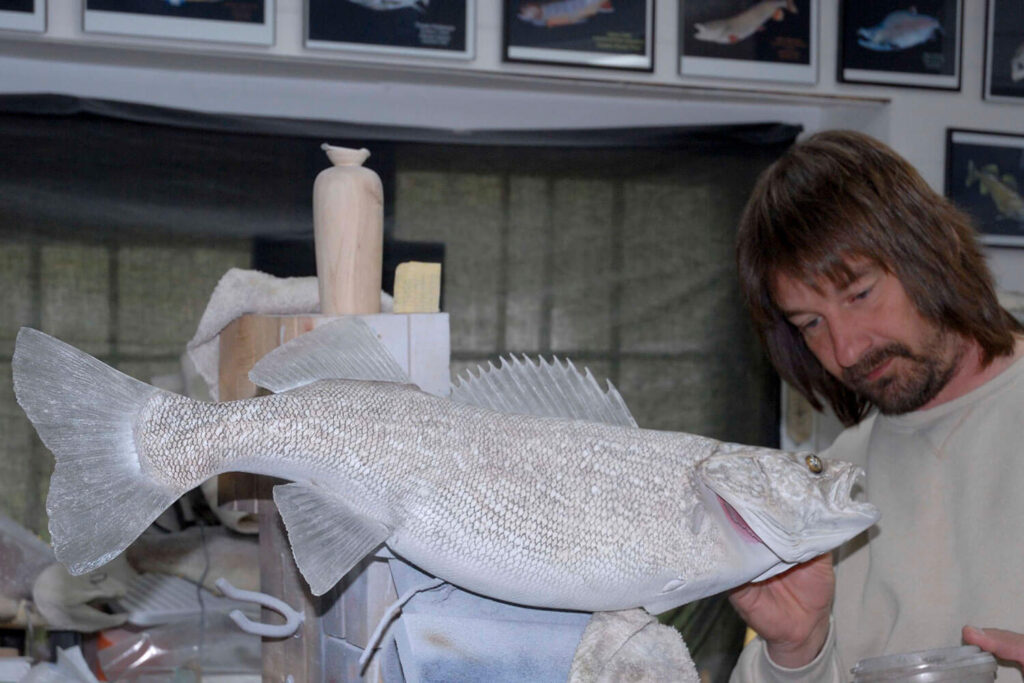
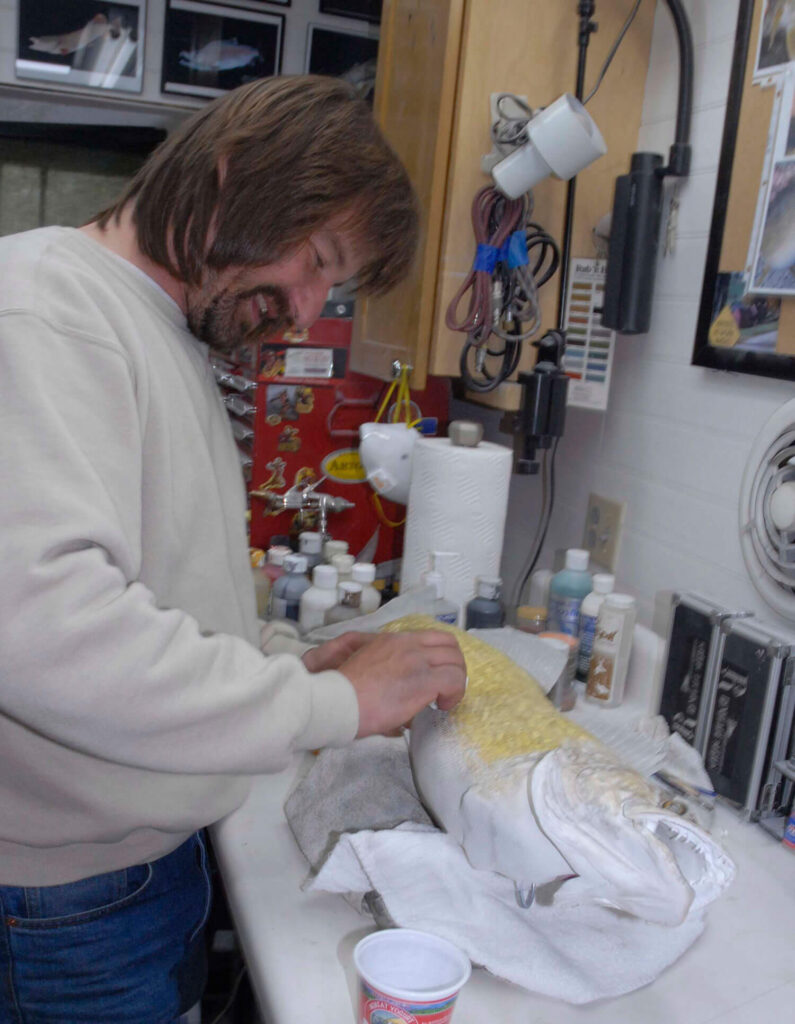
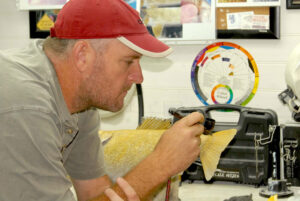
Here is where we part company! In the next step we will make a decision on what color phase we are creating. In Mike’s case, he uses a Polytranspar Scale Detail Black to spray a light to medium coat over the surface of the walleye he is painting.

In the photo of Joey’s fish, he uses a Lifetone Medium Rich Brown to create his light to medium coat for his walleye.

Scott used a Lifetone Coco Brown to create his look! Three different colors for three different looks to give each Walleye a base color for the antiquing process!
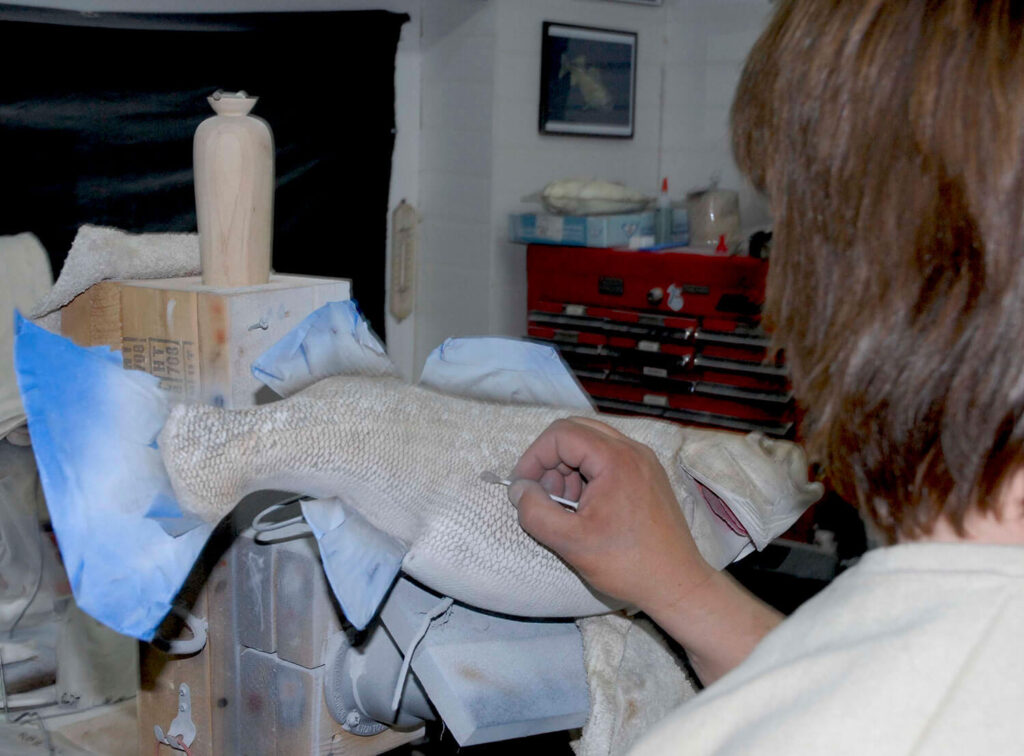
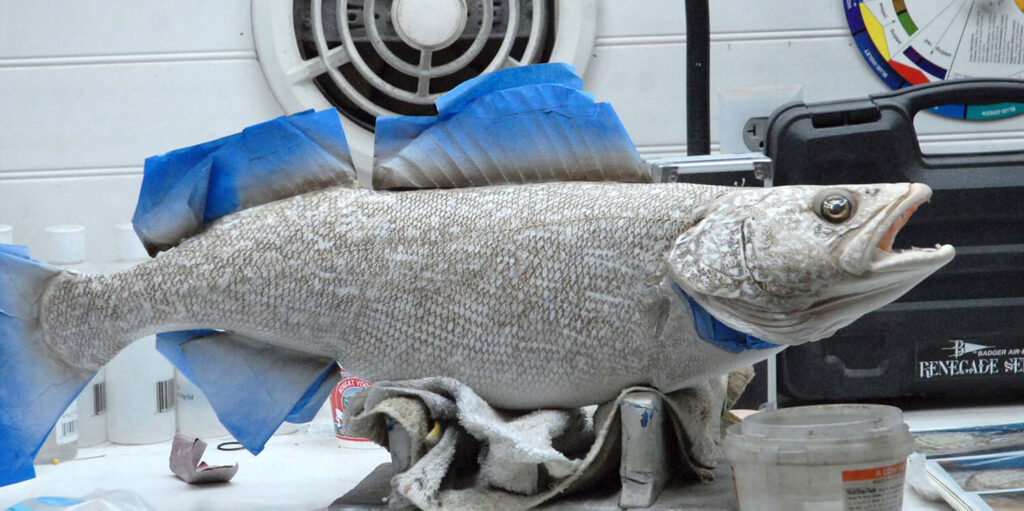
Using 0000 Steel wool Both Mike and Scott lightly sand in multiple directions to remove the surface coat of paint according to their fish reproductions exposing the white surface of the scales; leaving the remaining color for each fish reproduction respectfully in the scale pockets. Joey did this step as well!
The next step is to apply what we call the base cover coat that will be used for the detailing aspects of the Walleye, creating the unique markings and patterns. We will use Mike’s fish to demonstrate this step! What Mike is doing is lightly spraying LT Coco Brown over the entire surface of the fish from above the belly line of the fish including the head mandibles and eyes.
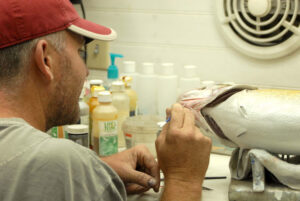
Mike uses a cosmetic applicator (a makeup Q-tip) starting from the top of the fish Mike makes small squiggles and marks creating the back detail markings. This is an area where reference is a must!!!! Mike moves onto the lower section and then lastly the head. Learn to break down your tasks into regions and you’ll find this to be a simpler way to approach this technique as so it doesn’t get over whelming.
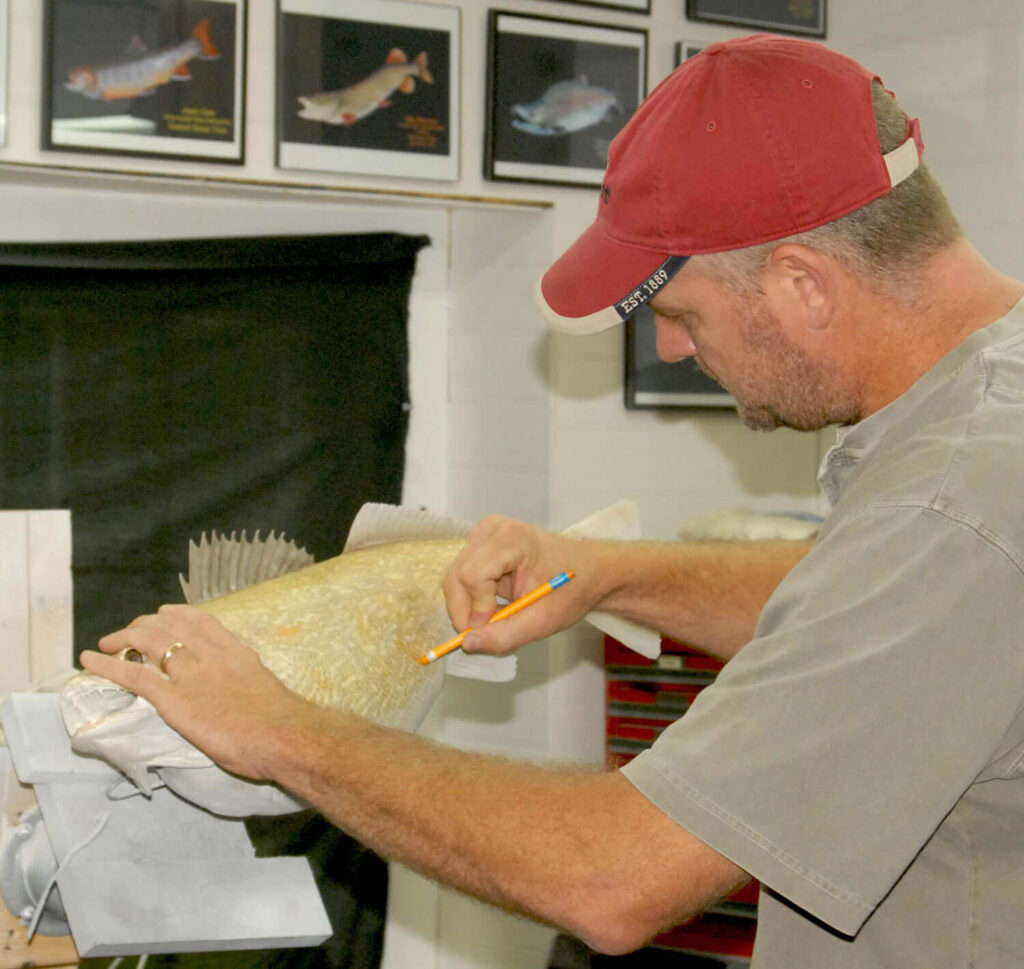
Time to put some real color down on all of the 3 phases of the Walleye’s! Mike and Joey are using a Derwent Yellow Water color pencil to apply this color yellow to the same areas that the Coco Brown was applied too. What these fellows are doing is scribbling the yellow all over the surface. Using a damp paper towel (damp is in my definition is when you can not squeeze water out of the paper towel any longer) tapping and swiping with the damp paper towel you will immediately see the beautiful color come alive. The trick is to not have any pencil line left when you are done. If you want it lighter and a soft fade wipe more, if you want more color add more then tap the surface until you get the look you want!
With any technique how is one thing but “Why” is the real reason to know and remember a step. The “Why” part of learning gives you the key to the how! The Why of a watercolor pencil over and airbrush is a watercolor pencil allows the artist to apply the color using moderation and control with great efficiency to the color pigmentation applications. Using a water color pencil to create the fading of color or deepness of color to the fish surface if so desired is as easily done with out fear of a mistake that can not be fixed with nothing more then a wet paper towel. Certainly an airbrush can do this step however not with the same control as a watercolor pencil. I can put a screw in to wall with a hammer but a cordless drill will work better!
This will be a great time to paint fins at this stage of your project! Remember what I have written in other painting articles, your fish painting is broken down in to three aspects of focus, 1 the body, 2 the fins and 3 the head any order will most likely work in most cases but be assured that each and every one of these aspects of your paint work are equally important! On to fins!

Next Mike uses some thinner and a scrubber brush and removes most of the coloration leaving a natural streaking behind that is a very nice detail as well as a natural effect of this fin!
This technique will be used on the all the other fins excluding the paired fins.

Joey moves on to the hard rays of the soft dorsal and caudal fins.
Our next step for all three of the walleye reproductions is to add depth and some detail yellow to the body.


Painting the Barring on a Walleye Replica
The next “Big” step is some of the body barring! In many walleye colorations there are vertical barring that display on Walleye. Not all Walleye show as much or in some cases as little display so once again we refer back to reference!!!! I will share two different methods and styles of applying the barring.


Painting the Head Detail of a Walleye Reproduction

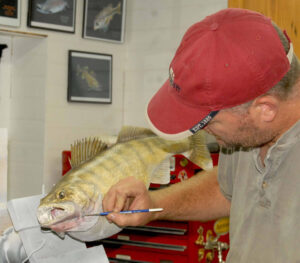
Mike begins to apply the Pearl-ex colors to the boney areas. I like to see students start at the mandibles and move back addressing the facial plates.


Joey uses some silvers to create the shiny sliver look that highlights the soft tissue of the Walleye.


Concluding Thoughts on Painting Walleye Reproductions in Taxidermy
There are many different ways and methods to paint fish and work with a species as beautiful as the Walleye. I hope the paint system we teach lends itself to your artistic development, helping you refine and expand your painting techniques! Work hard at thinking out of the box and study hard when it comes to your reference! As always it is my pleasure to share the enjoyment and love that I have to teach and to find the satisfaction in the art of fish work!
Be a student of the art of taxidermy and you will always be in the world of taxidermy! Be a taxidermist who wants to learn from each and every project and every time you hit the bench you will always improve and be satisfied with your own great efforts!!! We have a few new Instructional DVDs out and if you’re interested give us a call!
I wish you my very best! Work hard and never settle for anything but the best you have in you!
Rick Krane,
Anglers Artistry


